Slayers 2 map: every region, shrine and NPC
Directions like over here by the waterfall are no help without place names. Every region below is a name you will see in the game: on the full map, on the minimap, or on an area label.
Clickable map
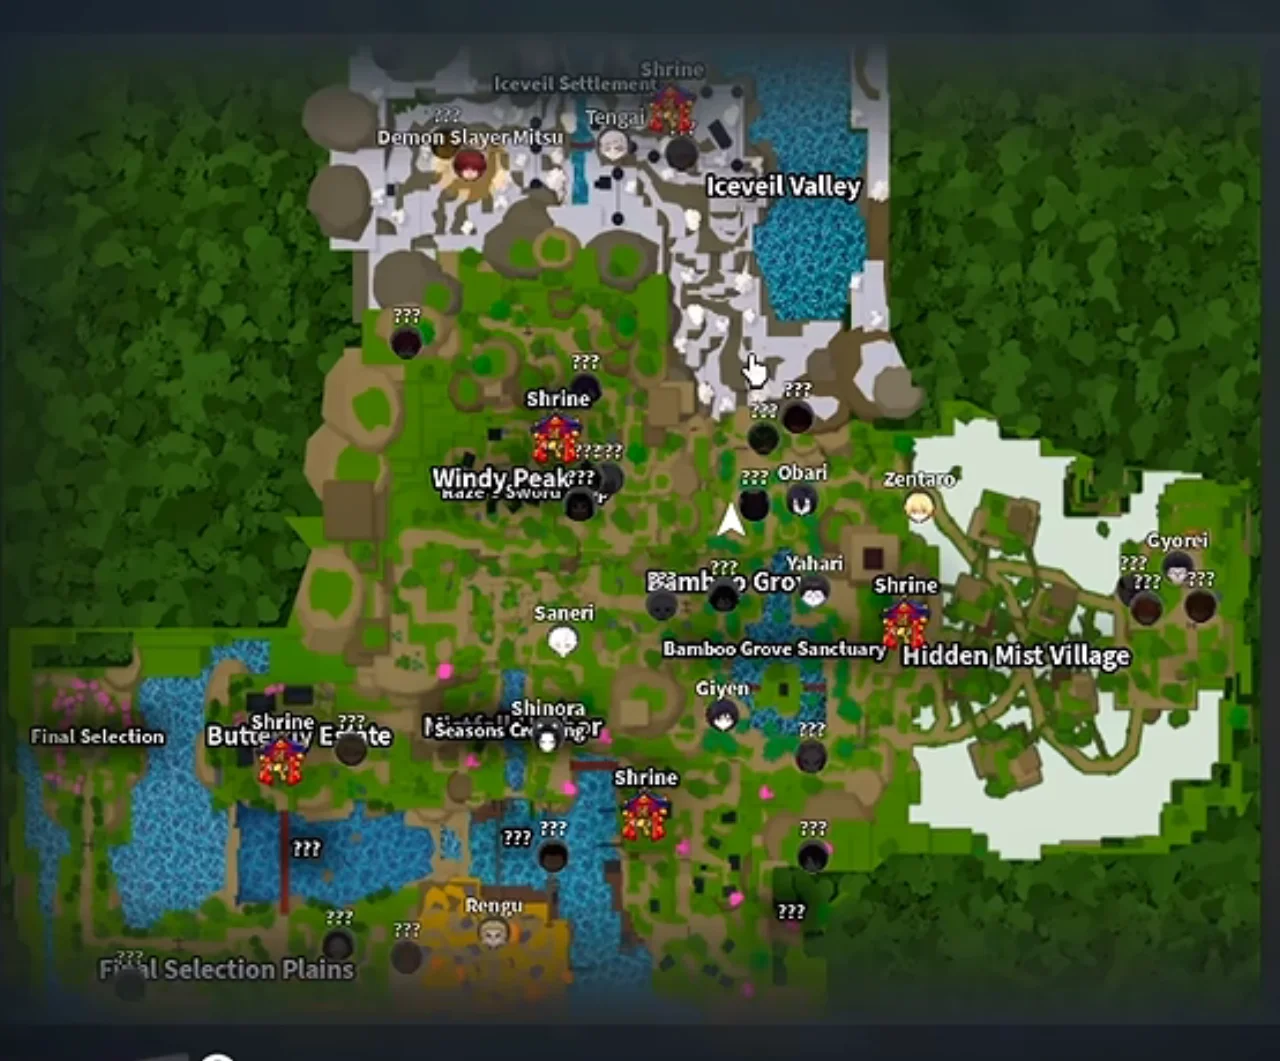
Area
Windy Peak
The starting village: Krue's first quests, Kona's Book of Guidance and Raze's sword shop.
Tap a marker to see what is there. Most boss markers carry a breathing trainer’s name, but the trainer is a separate NPC standing somewhere else; each boss card says where to find the trainer.
The named regions
Windy Peak
Where you see it: Full map, top left, with a locked shrine above it
The starting village: Krue, Kona and Raze’s sword shop. The first-hour list starts here.
Mother Bear
Where you see it: A map marker east of Windy Peak
Not a town but a landmark: Tom’s bear quests, and Kuro, a night merchant who is not the Black Marketer, after dark.
Bamboo Grove and Bamboo Grove Sanctuary
Where you see it: Two labels in the middle of the map
Water Trainee Sabitois marked just below. The Water trainer is through an underwater passage nearby.Mistfall Harbor
Where you see it: Full map, half hidden under other labels
Ginzo the loot buyer, a shrine, and the stone bridge you cross to reach the dungeon portal.
Seasons Crossing
Where you see it: Label on the full map, south-west of Bamboo Grove
The level 62 demon quest is in a house here.
Butterfly Estate
Where you see it: Full map, west side, with a shrine
What players call the Butterfly Mansion. The Insect trainer on a rooftop, the house where breathing training (meditation, cups, push-ups) happens, Shiori’s infirmary quest, and the way to Final Selection and to Fujiko, the umbrella boss.
Final Selection Plains
Where you see it: Full map, bottom left
The Final Selection gate, with a
Renguboss marker just east.Iceveil Settlement and Iceveil Valley
Where you see it: Minimap, with a shrine
The snow village where Iceveil Guard Shiro stands, and the cold that drains health.
Ouwigahara
Where you see it: The portal prompt, and the area label once inside
The dungeon, opened at level 65. The approach is labelled
Wilderness.
Two more names come up. Dreamfall Hollow is on the world map, and entering it pops a Dreamfall Hollow NEW! toast; Jugg, the Slayer quest giver for the 62 to 75 stretch, stands at its mouth (see the mastery page). Inside is Enru, The Dream Demon, whose bar carries the last move of Dream Manipulation. The minimap near the dungeon portal shows The White Terror Lair: the tower where the Nightfall Mask drawing is studied, on the Nightfall page. Where Zenitsu, Akaza and the umbrella boss stand is on the boss locations page.
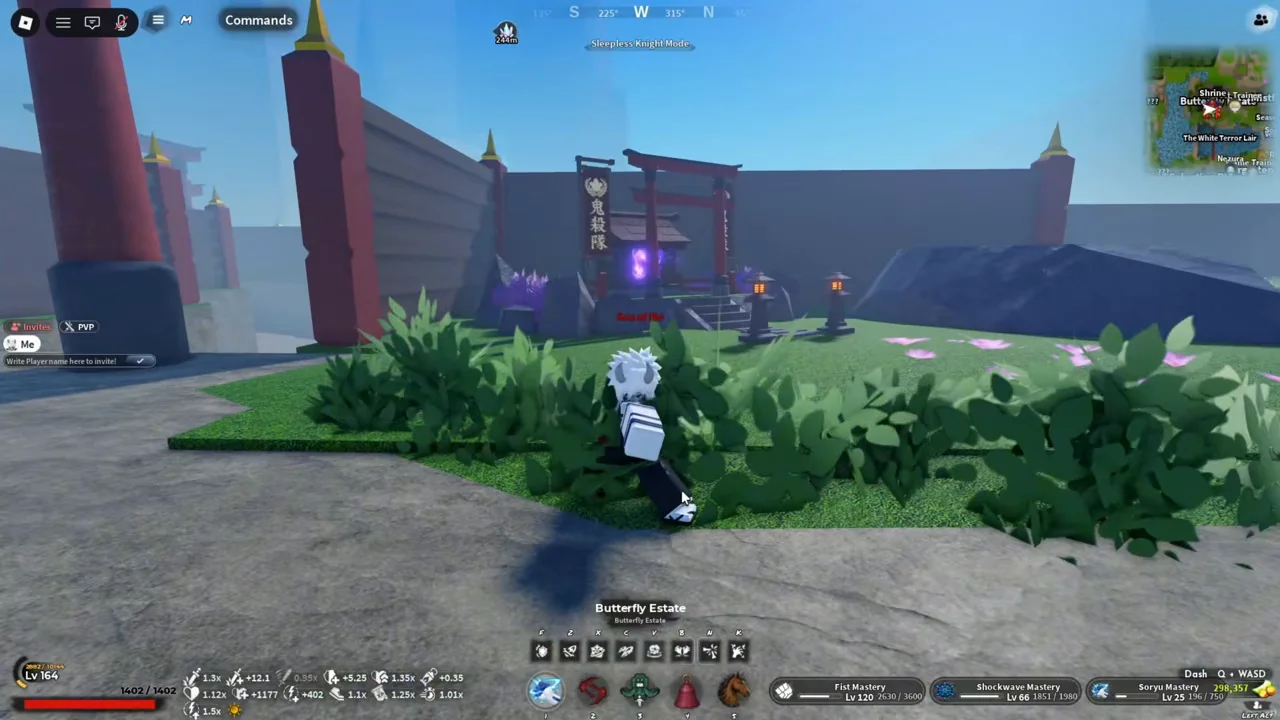
The area label reads Butterfly Estate.
Shrines: the fast travel
The full map marks a Shrine with a padlock at Windy Peak, Hidden Mist Village, Butterfly Estate and one south of Bamboo Grove, and the minimap shows another at Iceveil Settlement. The map’s settings have a Shrines group with a Shrine Names toggle.
You buy each shrine with Wen and then teleport between them, and there is one at each village. Carry spare Wen when you reach a new town.
Separately, you respawn at a crystal. The Set Spawn Anywhere pass (400 Robux) moves that point: its description says to type /Set, or /UnSet to be “spawned at the crystal” again. For the ground between shrines, see the horse page.
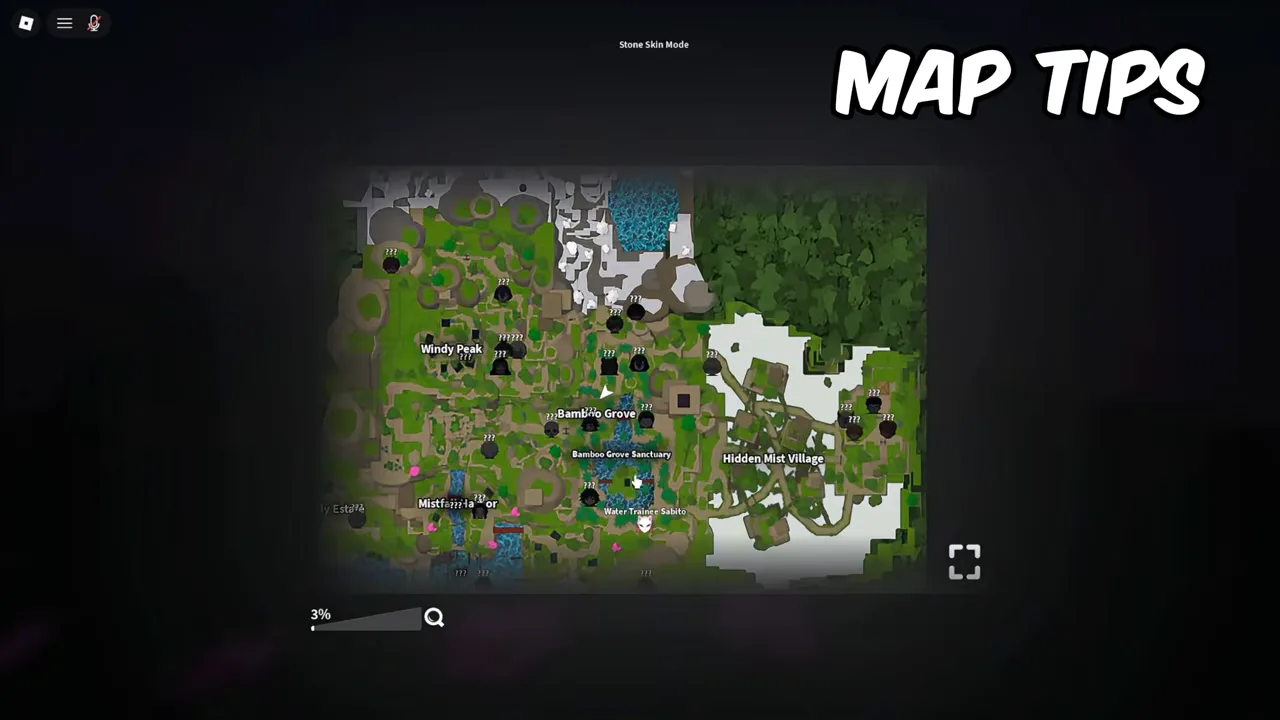
The world map. Readable labels: Windy Peak on the left, Bamboo Grove and Bamboo Grove Sanctuary in the middle, Water Trainee Sabito below them, Hidden Mist Village on the right, and Mistfa… half hidden at the bottom left. Unvisited markers show as ???.
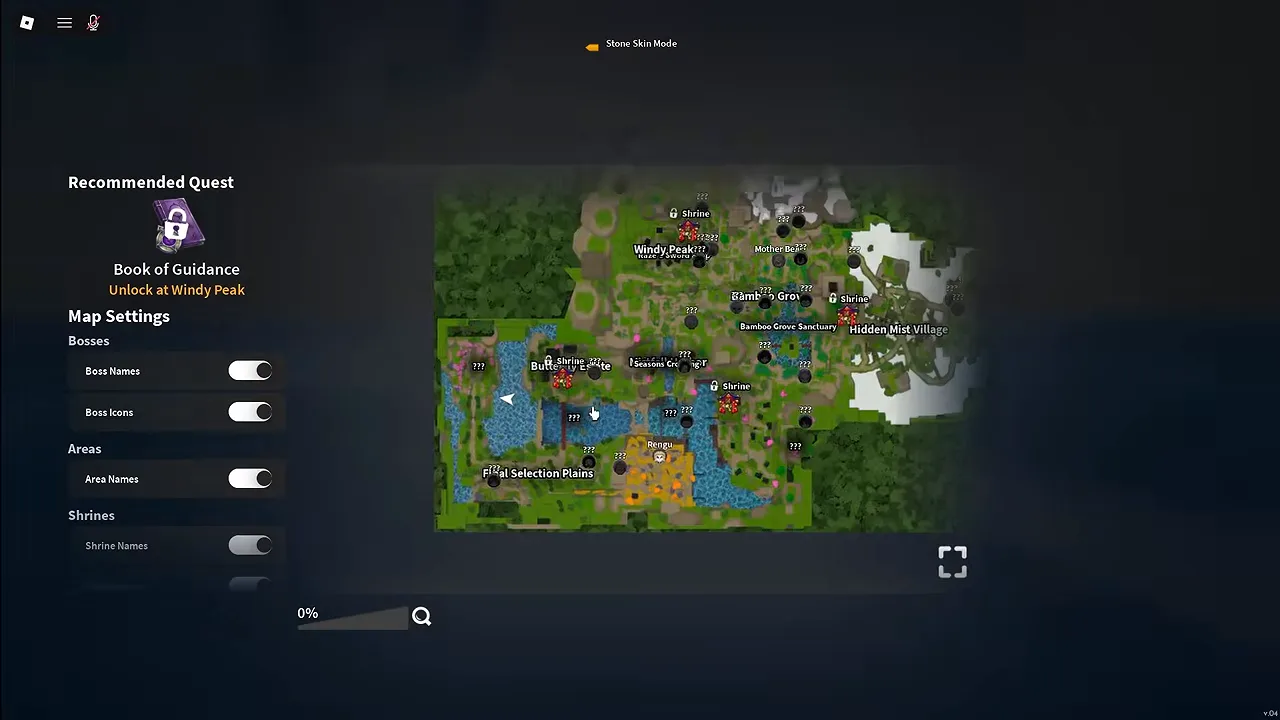
The full map. The left panel shows Recommended Quest, Book of Guidance, Unlock at Windy Peak, and toggles under Map Settings for bosses, areas and shrines.
Both views keep the same shape: Windy Peak to the north-west of Bamboo Grove, Hidden Mist Village to the east, and Butterfly Estate and Final Selection Plains to the south-west. Places you have not visited show as ??? until you do.
The cold in Iceveil Valley
Walk into the snow and the edges of your screen turn red while your health ticks down. You lose health rapidly around the Sound trainer, so bring health potions.
The item that stops it is the Emberheart Lantern. Its tooltip: Its ember holds off Iceveil's freeze while it burns, then must be rekindled beside a campfire. It also adds +25 (Max Health) and +20 (Max Stamina).
It drops from the Yeti, 25% of the time, and the Yeti only appears if you bring a Frozen Heart. Sitting at a campfire adds ten seconds of protection at a time, up to ten minutes. The Black Marketer sells Frozen Hearts for 10,000 Wen; see the black market page.
Two breathing trainers, Sound and Wind, stand in this snow, and so do the level 90 to 115 quests on the leveling page.
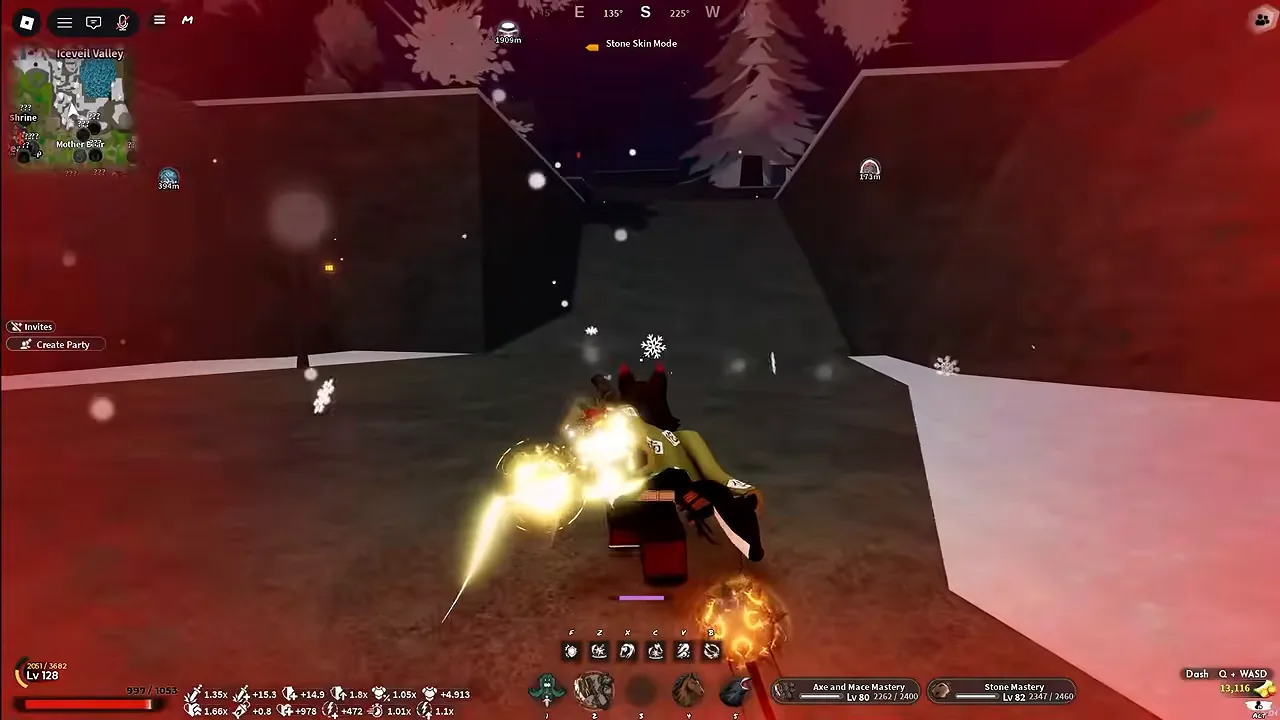
Snow on the ground and the edges of the screen washed red.
Where the eight trainers stand
| Style | Trainer | Where |
|---|---|---|
| Serpent | Obari | The cliffs north of Windy Peak, the starting village |
| Insect | Shinora | On the lower roof of the centre building at Butterfly Estate |
| Flame | Rengu | On the roof of the house beside the long red bridge out of Mistfall |
| Thunder | Zentaro | The highest peak above Hidden Mist Village, up the path past the bear area; you need Wall Climb |
| Stone | Gyorei | Stone Sanctuary, down the path from the bear area near Hidden Mist |
| Sound | Tengai | On top of a small island north of the shrine in Iceveil Valley, where the cold drains health |
| Wind | Saneri | A platform in the water in the Iceveil Valley snow, reached along the fallen tree by the shrine |
| Water | Urokodaki | A hidden underwater passage by the waterfall near Bamboo Grove; you swim in |
Costs and requirements for each style are on the breathing styles page.
Merchants and quest givers
| NPC | What for | Where |
|---|---|---|
| Krue | First quests | Windy Peak, by the gate |
| Kona | Book of Guidance | Outside a house on Windy Peak's main path |
| Raze | Katanas, 500 and 1,500 Wen | Inside Windy Peak |
| Tom | Bear quests | The bear clearing |
| Kuro | Night merchant, not the Black Marketer | Near the Mother Bear, at night only |
| Black Marketer | Rotating shop every two hours | One of ten or more spots; see the black market page |
| Wagwan | Levels 40 to 75 | By the waterfall below the bear area |
| Blacksmith Togane | Shotgun, the level 65 dungeon quest, and Nightfall and Firstlight crafting; the V2 reforge is at the Nichirin Forge in the Ouwigahara hub | Hidden Mist Village |
| Yagane | Free katana for the Final Selection ingot | A shop near the Rengu boss |
| Ginzo | Buys loot; sells Metal Scraps and Silk Thread | Mistfall Harbor, by the shrine |
| Dock Master Sofen and Fisherman Jeso | Fishing permit, then rods | The Mistfall Harbor docks, downhill from Bamboo Grove Sanctuary |
| Iceveil Guard Shiro | The level 100 supply quest | Iceveil Settlement, near the purple spawn crystal |
| The Sisters | Final Selection | At the trial gate |
Fishing needs a permit first. Sofen’s quest button reads Ill find the permit stamp(Lv 45) and pays Exp +2,700 with the Fishing Permit. Jeso then sells the Rare Fishing Rod for 5 Golden Fish and 10,000 Wen, and the basic rod for 3,500. Accepting the permit quest costs 5,000 Wen, and the stamp has moved since launch; the current spot, the bait shops and the Legendary rod are on the fishing page. Muzan has no fixed spot, so he has a page of his own.
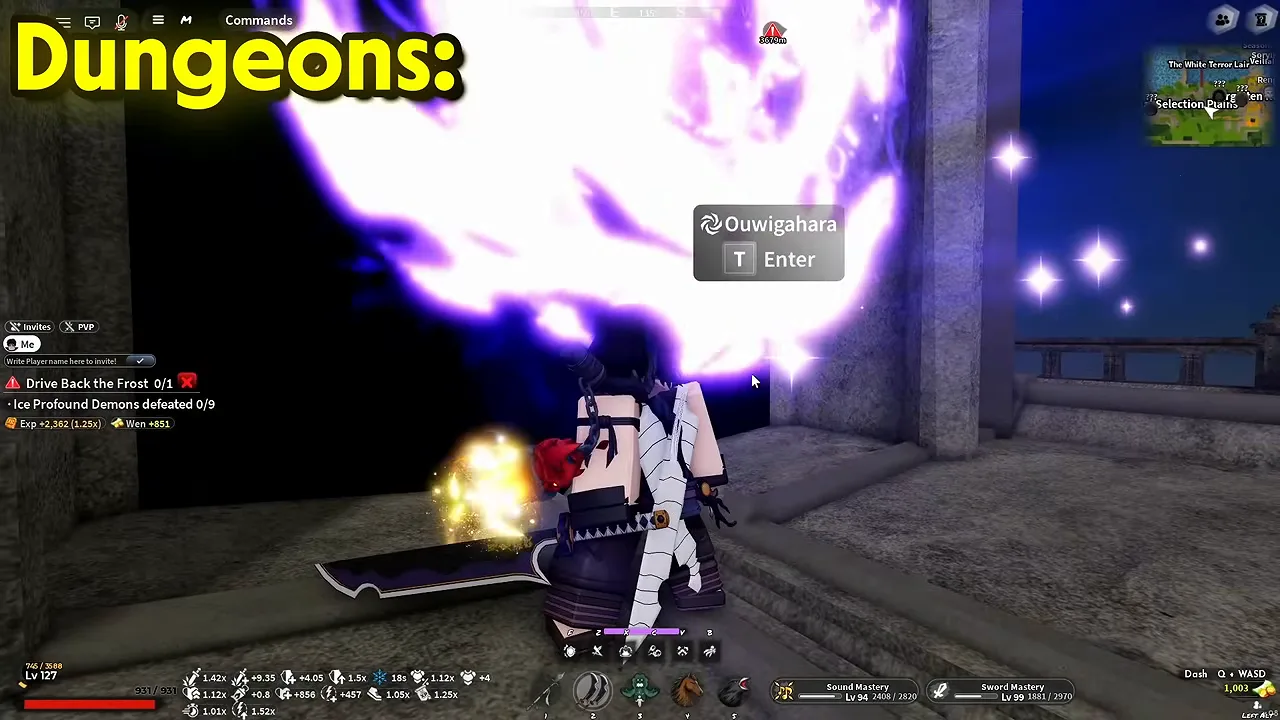
The prompt reads Ouwigahara over T Enter. The minimap in the top right labels The White Terror Lair and …Selection Plains.
Ouwigahara, the portal past the plains
Blacksmith Togane describes it as the portal past the plains, shut for years. Walk to it from the Mistfall Harbor shrine and across a stone bridge; the portal sits beside Final Selection Plains.
Inside is a hub with signs for an EXP AREA, a WEN AREA, a WEAPONS AREA, the NICHIRIN FORGE and an APOTHECARY. How a run works and what the points buy is on the Ouwigahara page; where it fits in your levelling is on the leveling page.